How to Post a YouTube Video on Instagram
Learn how to post a YouTube video on Instagram with our guide. We cover downloading, formatting for Reels, and optimizing posts for maximum engagement.
So, you want to post a YouTube video on Instagram? It's a smart move to get more eyes on your content, but there's a right way and a wrong way to do it. You can't just drop a link and expect it to work—Instagram won't autoplay it.
The best approach by far is to download your own video from YouTube, snip it into a vertical 9:16 clip, and upload it as an Instagram Reel. This method plays by Instagram's rules and gives you the best shot at reaching a bigger audience.
Why You Can't Just Link to YouTube
Ever tried pasting a YouTube link in your Instagram caption and watched it do… absolutely nothing? There’s a reason for that. Instagram is designed to keep you on their app. Think of it as a "walled garden"—they want you to stay inside, not wander off to a competitor's platform.
Because of this, the algorithm heavily favors native content—videos and images uploaded directly to Instagram. When you share a link that directs people away from the app, especially to a rival like YouTube, Instagram tends to bury that post. It gets way less reach and almost no engagement.
In fact, one social media experiment on cross-posting confirmed what many of us have suspected for years: posts with YouTube links just don't perform well.
Native Content Always Wins
To get any real traction, you have to play the game. That means making your YouTube content feel like it was created specifically for Instagram. Repurposing your video into a format the platform loves is non-negotiable.
Here’s a quick breakdown of why uploading the video file directly is so much better than sharing a link.
YouTube Link vs Native Instagram Video Performance
| Feature | YouTube Link in Post | Native Instagram Video (Reel) |
|---|---|---|
| User Experience | Requires users to click away from Instagram to watch. | Plays instantly and seamlessly in the user's feed. |
| Autoplay | No. Just shows a static, unclickable link. | Yes. Grabs attention immediately as users scroll. |
| Algorithmic Reach | Heavily suppressed. The algorithm rarely shows it. | Massively boosted, especially for reaching new audiences. |
| Engagement | Very low. People rarely leave one app for another. | High. Easy to like, comment, and share in-app. |
| Analytics | No Instagram insights on video performance. | Full access to views, watch time, and engagement data. |
As you can see, the difference is night and day. A native video gives you a fighting chance, while a link is almost guaranteed to flop.
The key takeaway is simple: To get your YouTube video seen on Instagram, you need to treat it like a brand new piece of content. Don't just link to it—adapt it, reformat it, and upload it directly.
Once you get this, you’re already ahead of the curve. Now, let's get into the practical steps of turning that YouTube video into a stellar Instagram Reel.
Getting Your Video from YouTube to Your Device
First things first, you can't post a YouTube video to Instagram without having the actual video file on your phone or computer. Obvious, right? But how you get it matters.
While there are plenty of third-party tools out there that promise to download any YouTube video, the best and safest route is to use the original file you uploaded. If you still have it saved somewhere, great! You can skip ahead. If not, don't worry.
The good news is that YouTube makes it surprisingly easy to get your own content back.
How to Download Your Video from YouTube Studio
Your YouTube Studio dashboard is your best friend here. It’s a built-in feature, so you don't have to mess with sketchy websites or apps that could compromise your video quality or, worse, your security.
Here’s the quick rundown:
- Go to your content library: Log into YouTube and head straight to YouTube Studio. On the left-hand menu, you'll see a tab for "Content." Click that.
- Find the right video: Scroll through your list of uploads to find the one you want to repurpose for Instagram.
- Download it: Hover your cursor over the video's title. A few icons will pop up. Click the three-dot menu icon (the "Options" menu) and just hit "Download."
This is what your content dashboard will look like right before you grab the video.
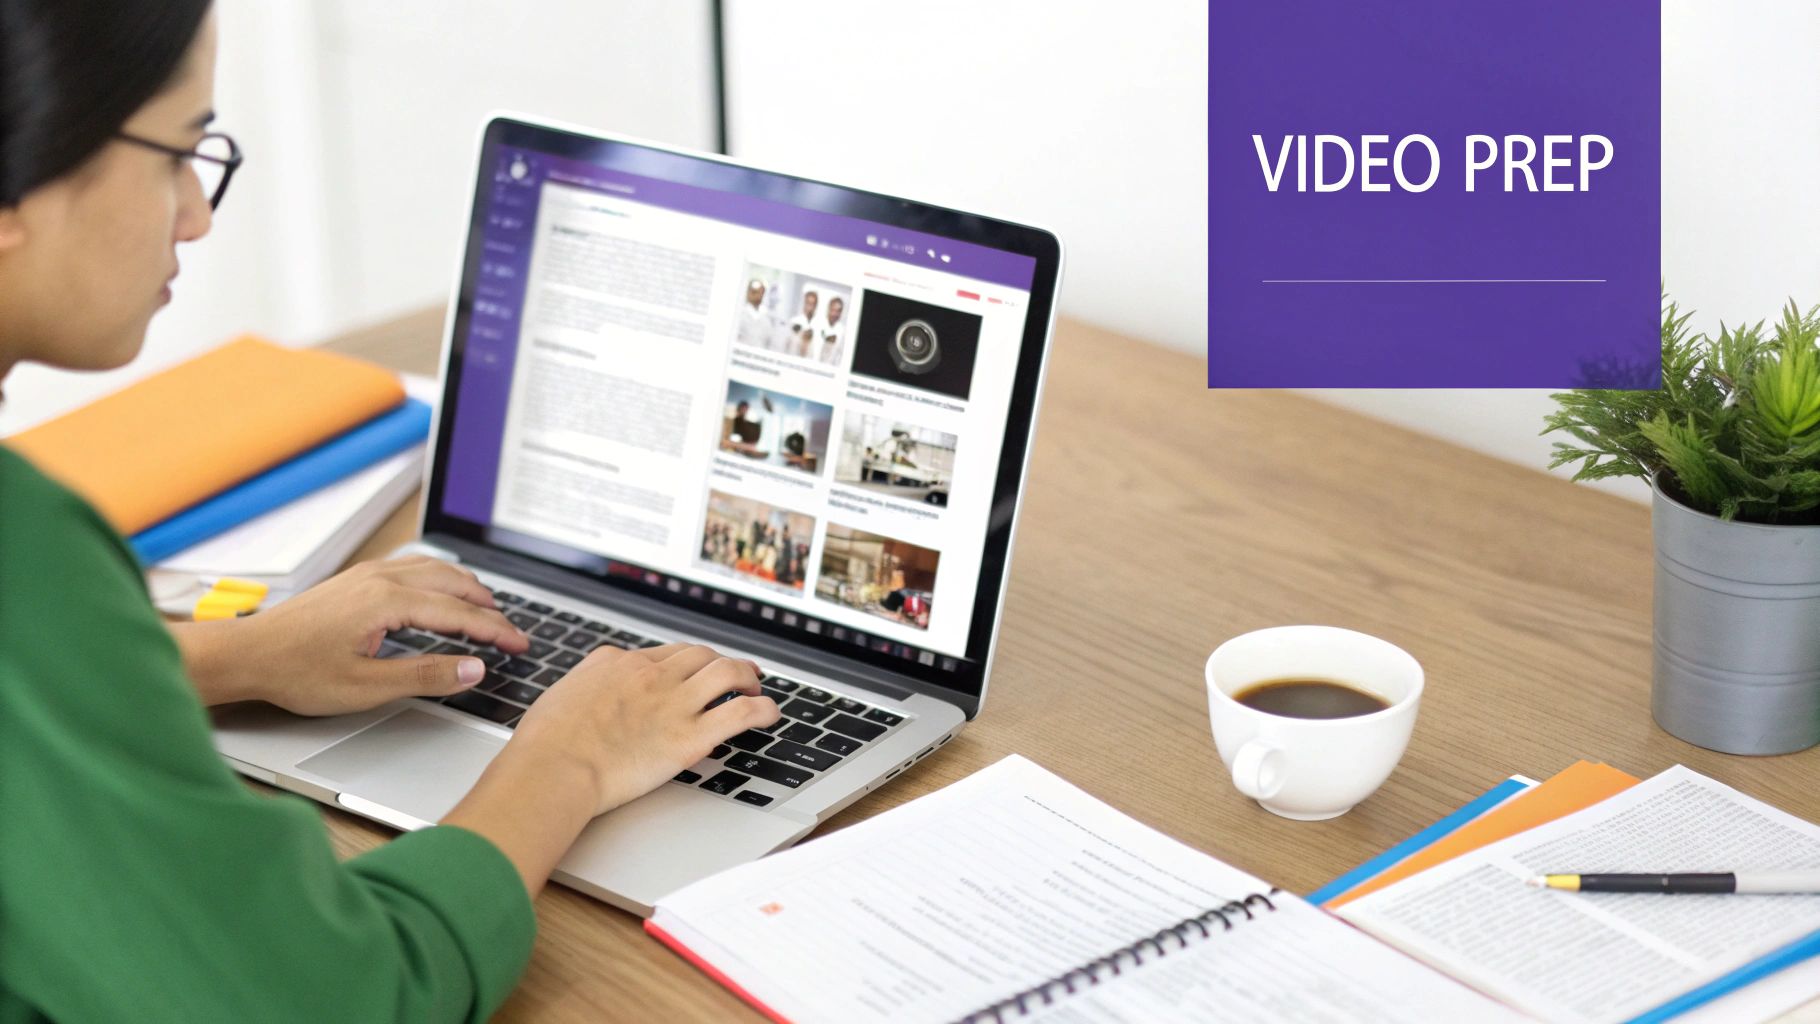
YouTube will then download the video to your computer as an MP4 file—the exact same high-quality version you originally uploaded. No quality loss, no watermarks.
This simple process gives you a clean, high-resolution starting point for editing. For a deeper dive, check out our guide on how to https://repostly.app/blog/share-videos-from-youtube-to-instagram-68bfe08744be737efa9f3dc5, which expands on these initial steps.
A quick but important note: This method is for downloading your own content. Grabbing another creator's video without their permission is a big no-no. It violates YouTube's terms of service and copyright law, so always make sure you have the rights to the content you're using.
With the video now saved on your device, you’re past the first hurdle. You've got the raw material. Now, let's get into the fun part: reformatting that horizontal video into a killer Instagram Reel.
How to Reformat Your Video for Instagram Reels
Alright, you’ve got the video file. Now for the fun part. You can't just throw a horizontal YouTube clip onto Instagram and expect it to work—that’s the fastest way to get ugly black bars and zero engagement. To make this work, you need to think like an Instagram creator and optimize your video for Reels.
The number one rule? Go vertical. Instagram Reels are built for a 9:16 aspect ratio, which is the full-screen view on a phone. That means your standard 16:9 YouTube video needs a serious facelift. It sounds technical, but a few great mobile apps make it surprisingly simple.
Choosing Your Editing Tool
You don't need a fancy desktop editing suite for this. Honestly, mobile apps like CapCut or InShot are more than up to the task. They’re super intuitive and have all the tools you need to resize, trim, and polish your clip right on your phone.
Just import your downloaded MP4 file, choose the 9:16 canvas, and then get to work. You'll likely need to zoom in or reposition your video to keep the key action centered in the new vertical frame.
This visual shows exactly what that 'trim and fit' process looks like—taking a wide video and making it work for a tall screen.
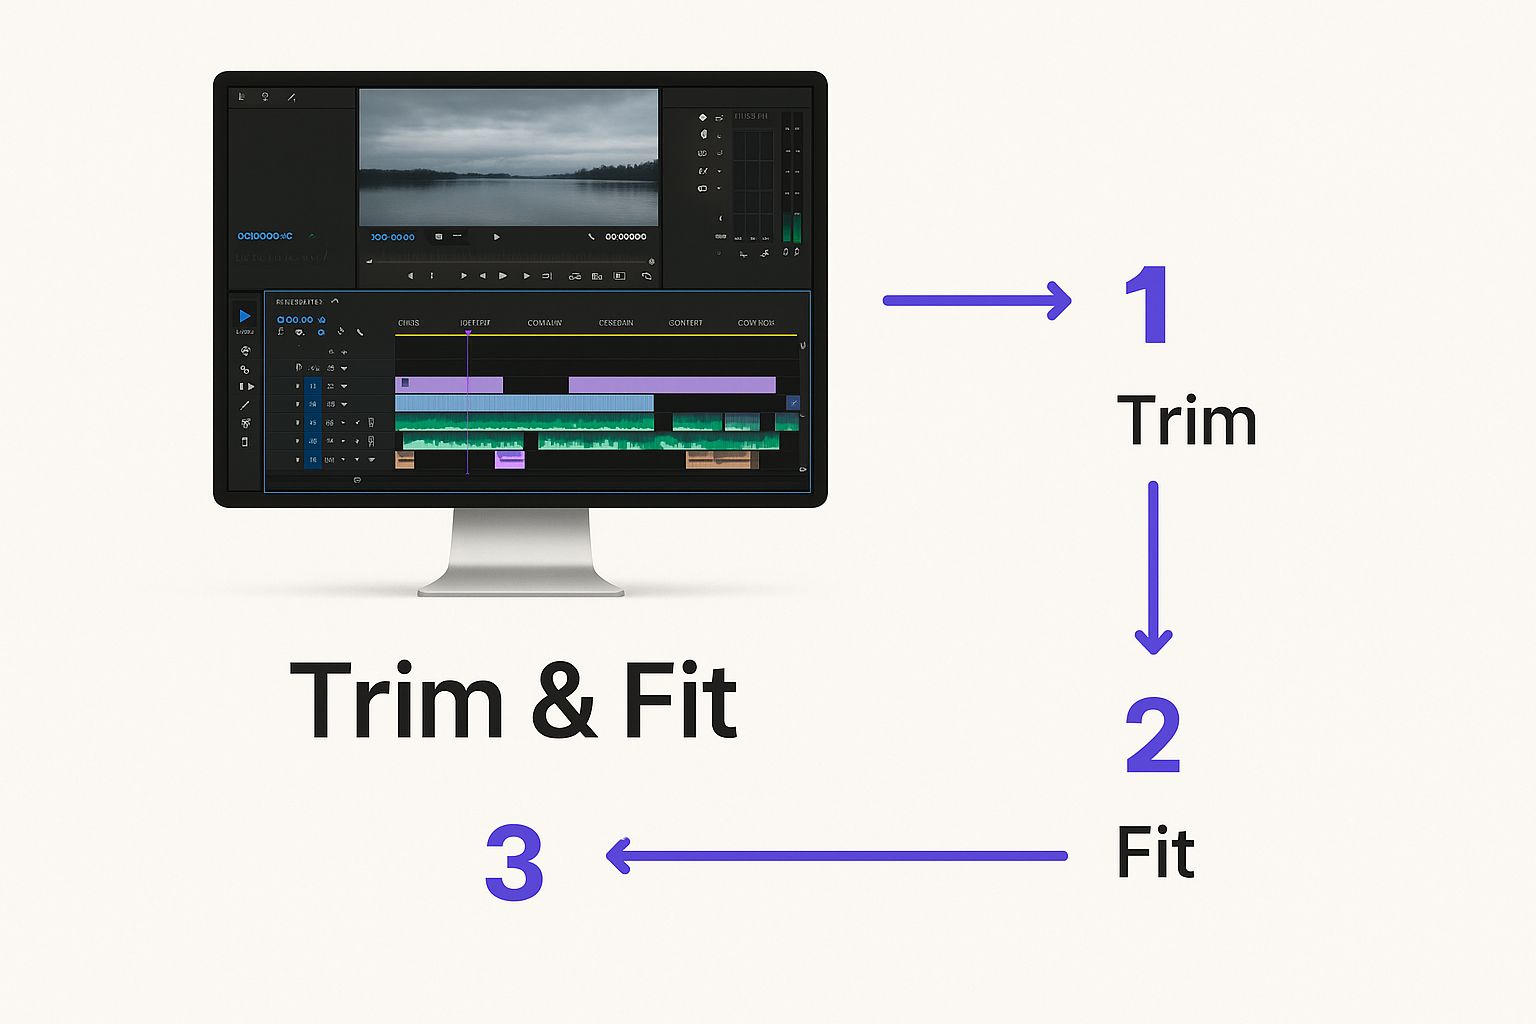
As you can see, the goal is to reframe the shot so it fills the screen without cutting off the most important part of the video.
Finding the Perfect Clip
Let’s be real: your entire 10-minute YouTube deep-dive isn't going to fly as a Reel. You need to hunt for a "golden nugget"—a powerful, punchy segment that's between 30-60 seconds long and can stand entirely on its own.
Look for the part with the strongest hook, a game-changing takeaway, or just the most exciting visual moment. Your goal is to tell a tiny, self-contained story that hooks people instantly. If you need more ideas on this, we've got a whole guide on smart content repurposing strategies.
Once you've isolated your clip, add captions. This is non-negotiable. Most people scroll with the sound off, so on-screen text is your best bet for grabbing their attention in the first three seconds. Finally, export your masterpiece in high quality (1080p is a safe bet) as an MP4. This extra effort pays off, especially when you consider that Reels have an average reach rate of 30.81%—way higher than other post formats.
Getting Your Reel Seen: The Final Upload
You’ve got your perfectly polished Reel ready to go. Now for the fun part: posting it. But hold on—don't just hit "Share." How you handle this final step can make or break your video's reach. A little strategy with your caption, cover image, and hashtags goes a long way.
Think of your caption as your first impression. You need a hook that stops the scroll. A sharp question, a surprising fact, or a bold statement works wonders. Keep it short and sweet, and use line breaks to make it easy on the eyes. The whole point is to give a little context and get people curious enough to want the full story over on your YouTube channel.
Nail Your Hashtag Game
Hashtags are how new people find you, but most people use them wrong. Slapping on huge tags like #video or #youtuber is a common mistake. Sure, they get a ton of traffic, but your Reel will be buried in seconds.
The trick is to use a strategic mix. I’ve found a blend that works really well:
- Broad Tags: Start with 1-2 popular hashtags in your general space, like
#contentcreatoror#socialmediatips. - Niche Tags: Add 3-5 super-specific tags that describe what the video is actually about. Think
#videorepurposingor#instagramgrowthhacks. This is where you’ll find your most engaged viewers. - Branded Tags: Always include your own unique hashtag if you have one. It’s a great way to build a community around your brand.
This combo tells the Instagram algorithm exactly who needs to see your content. You’re casting a wide net but also targeting the specific audience that will love what you’ve made.
A quick tip on cover images: Don't just let Instagram pick a random frame. Choose a bright, clear shot from the video—or better yet, upload a custom one—that looks great on your profile grid and makes people want to click.
Pointing People Back to YouTube
At the end of the day, we want to turn those Instagram scrollers into YouTube subscribers. The only way to do that is with a crystal-clear call-to-action (CTA). Don't be shy about it.
Finish your caption by telling people exactly what to do next. Something simple like, "Watch the full breakdown on my YouTube channel now! Link in bio." works perfectly.
This isn’t just a random tactic; it’s a proven strategy. It's so effective that a whopping 59% of posts are shared across multiple social platforms. You're creating a direct funnel from one audience to another. The more you understand the psychology and ROI of short-form video content, the more this makes sense.
Finally, timing is everything. Posting when your audience is scrolling can give your Reel an instant boost. To figure out your sweet spot, check out our complete guide on the best time to post to Instagram.
Smart Ways to Promote Your New Reel
So you’ve hit "Share" on your Reel. That's a great start, but the work isn't over just yet. To really get your repurposed YouTube content off the ground, you need a solid game plan from the moment it goes live.
That first 24-hour window is everything. It’s your chance to show the Instagram algorithm that your video is high-quality and deserves to be seen by a wider audience.
One of the simplest, most effective moves you can make is to share your new Reel directly to your Instagram Stories. This puts it right in front of your most engaged followers—the people who are already tapping through your daily updates. Think of it as generating an instant first wave of views and engagement.
Get People Tapping with Interactive Stories
When you do share it to your Story, don't just post the video and call it a day. Get creative with Instagram's interactive stickers to turn passive viewers into active participants.
A few ideas I've seen work well:
- Add a Poll Sticker asking something like, "Did you catch the full video on YouTube?" with simple "Yes!" or "Not yet!" options.
- Use a Quiz Sticker related to your video's topic to test your audience's knowledge and make them curious for more.
These little interactions send powerful signals to the algorithm. When someone engages with your Story, it tells Instagram they like your content, which can help boost the original Reel's visibility in their main feed.
Your main goal is to drive as much activity as you can in those first few hours. The more saves, shares, and comments your Reel gets early on, the better its chances of landing on the Explore page and reaching people who don't follow you yet.
Reach New Audiences with a Collaboration
Another killer strategy is using the Instagram Collabs feature. If your original YouTube video featured another creator, this is a no-brainer.
Invite them to be a collaborator on the Reel. Once they accept, the post shows up on both of your profiles simultaneously. Just like that, you've tapped into their entire audience, putting your content in front of a fresh set of eyes that are probably interested in what you have to say.
These simple tactics are what separate a good post from a great one when you post a youtube video on instagram. It’s about turning a simple upload into a strategic play for more growth.
Answering Your Top Questions About YouTube to Instagram Repurposing
Moving your videos from YouTube to Instagram can feel like navigating a new country with different customs. It's smart to ask questions before you dive in, as the rules and what works best are totally different between the two.
Let's tackle some of the biggest questions creators have. Getting these right will help you share your content with confidence and avoid some common rookie mistakes.
Can I Post a Video If It’s Not Mine?
Let's get the big one out of the way first. The answer is a hard no. You absolutely cannot take someone else's YouTube video and post it on your Instagram as your own. That’s a classic case of copyright infringement.
Ignoring this can seriously backfire:
- Your post will almost certainly get taken down.
- Your account could get hit with penalties, suspended, or even permanently banned.
- The original creator has every right to take legal action against you.
This guide is all about repurposing your own content. If you're dying to share a clip from another creator, you have to get their clear, written permission first. No exceptions.
What’s the Sweet Spot for an Instagram Reel's Length?
Instagram now lets you post Reels up to 90 seconds long, but don't feel like you have to use all that time. The perfect length really comes down to what you're trying to achieve with the video.
If you’re creating a teaser to get people to click over to your YouTube channel, short and snappy is the way to go. Think 15-30 seconds. That's just enough time to hook them with a killer highlight and leave them wanting more.
On the other hand, if you're pulling a self-contained tutorial or a quick, powerful story from your main video, feel free to use up to 60 or 90 seconds.
The golden rule here? Keep the energy high and make every single second count. The moment a viewer feels even a hint of boredom, they’re gone.
How Do I Actually Get People to My YouTube Channel?
You can't just cross your fingers and hope for the best. You need a powerful and unmistakable call-to-action (CTA). You have to literally tell people where to go and what you want them to do.
The most effective way to do this is to hit them with the CTA in two spots: as a text overlay in the last few seconds of your Reel and right there in your caption.
Use direct and simple language. Something like, "For the full story, head to my YouTube channel! Link in bio." This creates a super simple path for your followers, turning them from casual Instagram scrollers into engaged YouTube subscribers.
Tired of the manual reposting grind? Repostly can save you hours every single week by letting you schedule and automate your content across all your social channels from one place. Start your free 7-day trial and see the difference.
Keep reading
10 Fresh Instagram Story Idea Tactics for 2025
Stuck for content? Discover our top Instagram story idea list, with actionable tips to boost engagement and grow your audience in 2025.
A Practical Social Media Planner for German Markets
Build a results-driven social media planner for Germany. This guide offers actionable strategies for content, scheduling, and analysis in the German market.
Crafting Your Social Media Content Plan
Stop guessing and start strategizing. This guide provides an actionable social media content plan to audit, plan, and execute content that gets results.
Post once. Show up everywhere.
Start your 7-day free trial and publish your next video to every platform in minutes.Pick a plan and publish your next video to every platform in minutes.
Start your free trialSee plansCancel anytime