How to Repost an Instagram Post The Right Way
Learn how to repost an Instagram post to your story or feed. Our guide covers the best methods, apps, and ethical practices for sharing content.
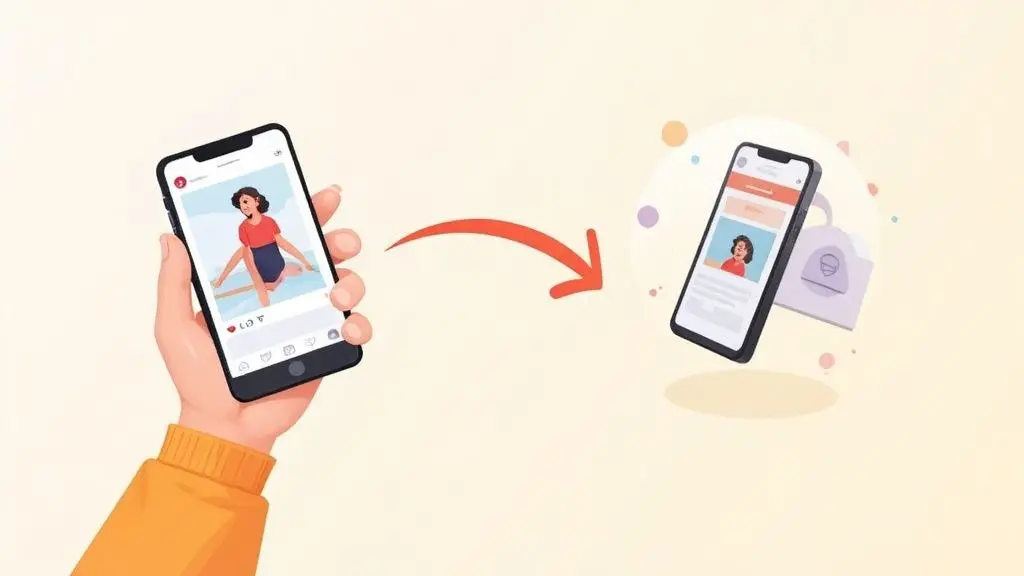
Sharing someone else's post on Instagram is pretty simple at its core. You can hit the "paper airplane" icon to share a post to your Story in a flash, or you can go the manual route by saving and re-uploading the content to your own Feed. Each method has its place, whether you need a quick, fleeting share or a permanent fixture on your profile.
Why Reposting on Instagram Is a Smart Move
Before we get into the "how," let's talk about the "why." Figuring out how to repost an Instagram post isn't just a technical skill; it's a key piece of a savvy social media strategy. It goes way beyond just plugging holes in your content calendar—it's a genuine way to build community and spark conversations.
When you share user-generated content (UGC), you're essentially spotlighting your audience and turning them into co-creators. This makes people feel seen and appreciated, which is huge for building loyalty and social proof around your brand. Sharing insights from experts or partners also positions your account as a go-to resource in your field.
This is also a fantastic tactic for growing your audience. Think about it: in Germany alone, there are over 33 million users, with the 25-34 age group being particularly active. Reposting helps you tap into their networks and ongoing conversations, giving your visibility a serious boost.
Reposting, when done right, turns your feed from a one-way broadcast into a vibrant community hub. It’s all about collaboration over pure content creation.
Ultimately, weaving reposts into your feed makes for a more interesting and dynamic profile. It's a smart way to find some creative Instagram feed ideas that add variety to your aesthetic. It's also a clever way to get more mileage out of great content, a concept we explore more in our guide on how to repurpose content for maximum impact.
At a Glance: Reposting Methods
To make sense of the options, it helps to see them side-by-side. Here’s a quick breakdown of the main ways you can repost content on Instagram.
| Reposting Method | Best For | Credit Method | Effort Level |
|---|---|---|---|
| Share to Story | Quick, temporary shares; time-sensitive content; behind-the-scenes feel. | Automatic tag of the original creator. | Low |
| Manual Repost (Feed) | Featuring high-quality UGC; permanent content; curated feed aesthetic. | Manual tag in the photo and mention in the caption. | Medium |
| Third-Party App | Scheduled reposts; batch content processing; adding a watermark. | Often automatic, but double-check and enhance. | Low-Medium |
Each approach offers different benefits, so choosing the right one depends entirely on your goals for that specific piece of content.
Sharing Posts to Your Instagram Story Instantly
Sharing a post to your Instagram Story is probably the quickest and most popular way to repost content on the platform. It’s a built-in feature, making it perfect for highlighting something timely or giving another account a quick shout-out without messing up your carefully planned grid aesthetic.
This approach is fantastic for keeping your audience engaged with fresh content that has a 24-hour lifespan. You simply find a public post or Reel you like, tap the little paper airplane icon underneath it, and then choose "Add to story." Instagram immediately whisks it away to your Story editor, where the real magic happens.
Just tossing it up on your Story is one thing, but adding your own touch is what really makes it count. It’s your chance to provide context and make the share feel like it genuinely belongs to your brand. While this is the standard method, it's worth noting some people use external Instagram Story viewing tools for various other tasks related to watching and interacting with Stories.
Making Your Shared Story Stand Out
Once that post is sitting in your Story editor, you have a blank canvas. Don't just hit "post" – that's a massive missed opportunity for engagement.
Here are a few simple ways I like to add some value:
- Add Your Own Take: Use the text tool to overlay a comment or ask a question. This gets your followers thinking and shows them why you found the content interesting enough to share.
- Give Proper Credit: While Instagram automatically tags the original creator, I always make it more visible. Adding a big, clickable
@mentionsticker is a great way to guide your audience to the source. - Make It Interactive: This is where it gets fun. Throw in a GIF, a poll, or a quiz sticker. These little additions are brilliant for boosting engagement and encouraging viewers to interact rather than just tap through.
Here's a pro-tip: tap the shared post itself while in the editor. You can switch between two different layouts—one is a clean, full-bleed look, and the other adds a white border with the creator’s username. Play around to see what fits your style.
You can also pinch to resize the shared post and move it around the screen. This is perfect for setting it against a custom background. I often use a solid brand colour or a subtle photo from my camera roll to make the shared content feel seamlessly integrated into my own Story's vibe.
How to Manually Repost to Your Instagram Feed
Sometimes, a post you see is just too good to let it disappear into the 24-hour void of a Story. It deserves a permanent home on your feed. But here's the catch: Instagram doesn’t have a built-in “repost to feed” button. That’s where the good old-fashioned screenshot method comes in. It’s a reliable, hands-on way to get the job done, giving you total control over the final look.
The real goal here is to make the repost feel deliberate and polished, not like a quick, lazy grab. This means taking a clean screenshot, cropping it with care, and then posting it as if it were your own original content (with proper credit, of course). When you get it right, it blends seamlessly into your feed.
Capturing and Cropping the Perfect Shot
First up, find the post you want to share and grab a screenshot. If you’re on an iPhone, that’s usually the side button and volume up button pressed at the same time. On most Androids, it’s the power and volume down buttons. A little pro-tip: pop your phone into "Do Not Disturb" mode first to avoid capturing any distracting notifications in your shot.
Now comes the most important part: the crop. You need to trim away everything but the photo or video itself. That means getting rid of the Instagram interface elements—the original account's username, the like and comment icons, all of it. You want a clean image that looks great on its own.
This graphic breaks down the basic steps for getting a post ready to be reposted manually.
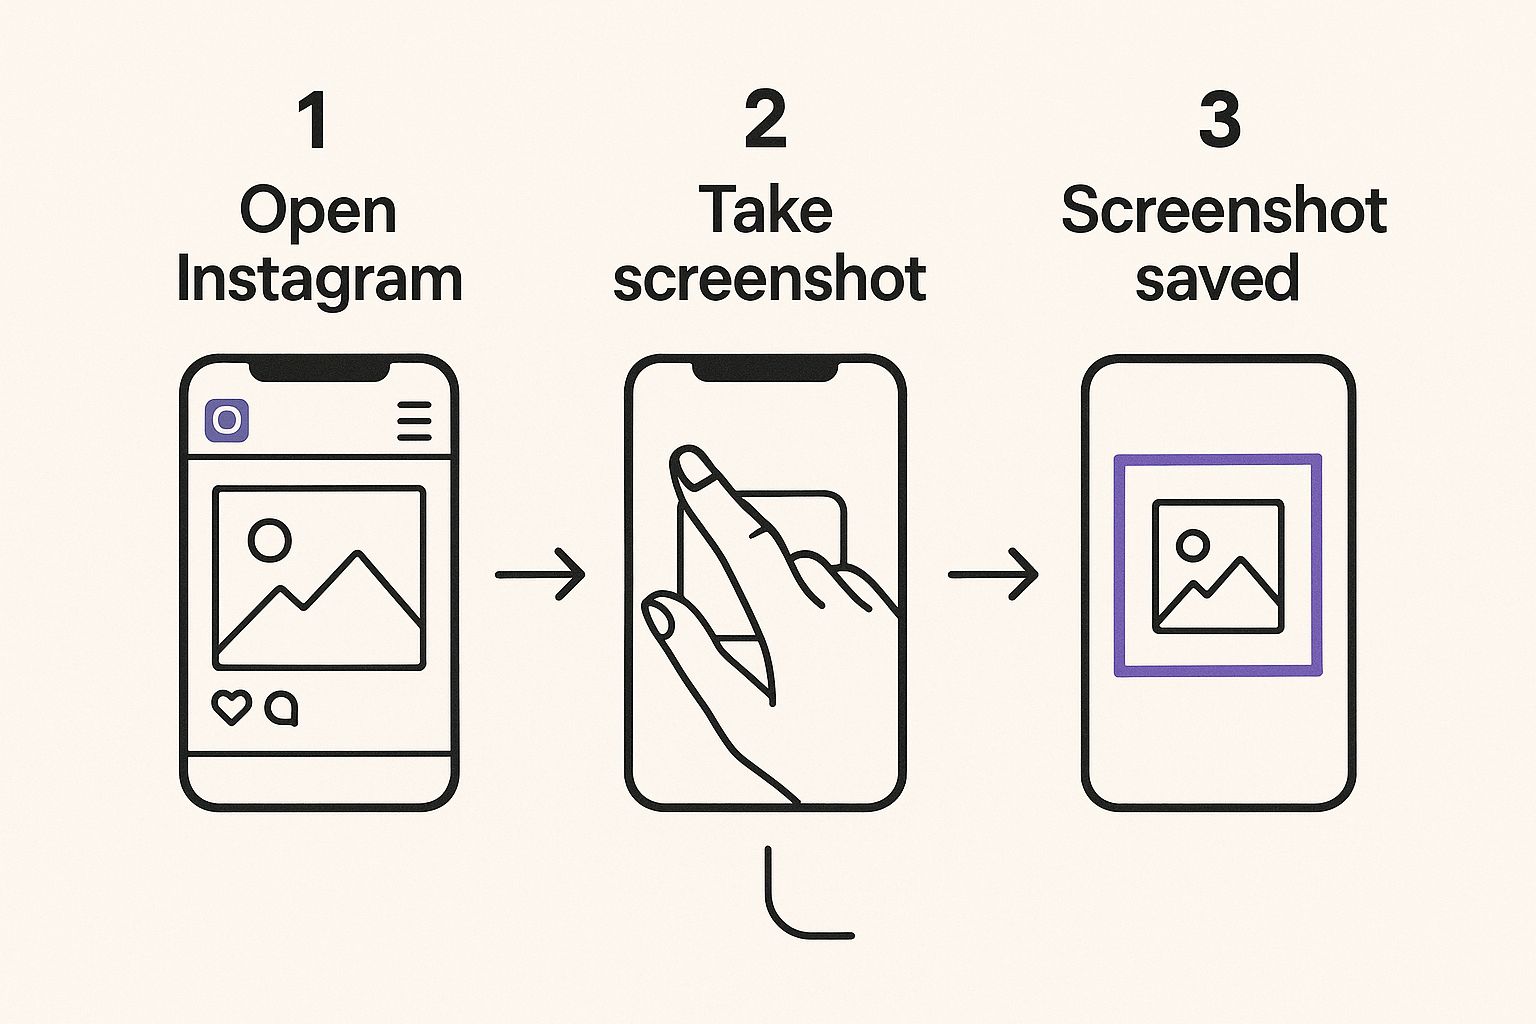
Precision is everything here. A carefully cropped image looks professional and respects your feed's aesthetic. A sloppy one just looks cheap.
Crediting the Original Creator Properly
Alright, this is the golden rule of reposting, and it’s non-negotiable. You absolutely must give proper credit. Simply re-uploading someone else's image without attribution isn't sharing; it's stealing, and it's a fast way to get a bad reputation.
Giving credit the right way is simple. Just follow these two steps every single time:
- Tag the Creator in the Photo: As you upload your cropped screenshot, use Instagram's "Tag People" feature to tag the original account. This sends them a notification and permanently links them to the post.
- Mention Them in the Caption: Your caption needs to clearly state where the content came from. The community standard is to put the credit right at the beginning. Something like "📷: @username" or "Love this shot from @username" works perfectly.
Giving clear and prominent credit isn’t just about etiquette; it’s about being a good citizen of the Instagram community. It shows you respect the hard work of other creators and helps foster a more collaborative and positive environment for everyone.
Using Repost Apps for a Professional Look
While the screenshot method gets the job done, it can feel a bit clunky, especially if you feature user-generated content (UGC) regularly. For brands and creators who want a more efficient and polished way to repost on Instagram, a third-party app is the way to go.
These specialised apps are built to make the whole process feel almost effortless. They link up with your Instagram account and take care of the technical heavy lifting, saving you from the tedious cycle of screenshotting, cropping, and manually typing out credit. This is a game-changer for social media managers who are juggling multiple accounts.
The biggest win here is professionalism. Instead of just a mention in the caption, these apps add a small, tasteful watermark that credits the original poster right on the image or video. It’s a clear and immediate signal to your audience that you’re featuring someone else’s great work.
How Repost Apps Generally Work
Even though every app has its own little quirks, the basic workflow is nearly identical across the board. It turns what was a clunky, multi-step process into just a few quick taps on your phone.
Here’s what you can typically expect:
- First, find the public post you want to share within the Instagram app.
- Instead of taking a screenshot, tap the three dots on the post and hit “Copy Link.”
- Next, open up your reposting app. Most of them are smart enough to automatically detect the link you just copied to your clipboard.
- The app will then give you options to customise the credit watermark. You can usually change its position (bottom-left, top-right, etc.) and even its colour to better match your feed’s aesthetic. Once it looks good, the app preps the post for you to share directly to your Instagram.
This approach doesn’t just save a ton of time; it also ensures every piece of shared content looks consistently professional. It takes out the guesswork and helps you build a more cohesive, community-focused feed.
Many of these reposting tools can also be found inside larger scheduling platforms. To see how this fits into a bigger content strategy, it’s worth checking out some of the best social media scheduling tools, which can help automate even more of your workflow.
The Unwritten Rules of Reposting

Knowing the mechanics of reposting is one thing, but understanding the social etiquette is what truly matters. Getting this right is the difference between being seen as a supportive community member and, well, a content thief. It's all about respect and avoiding potential copyright headaches down the line.
The single most important rule? Always ask for permission before reposting someone's content to your permanent feed. This is non-negotiable, especially for business accounts. A simple, polite Direct Message is all it takes.
This isn’t just about covering your bases legally. It's about building genuine relationships. When you take the time to honour a creator’s work, you create goodwill that can lead to future collaborations and strengthen your standing in the community.
What Proper Credit Actually Looks Like
Giving credit is more than just sticking a tag at the bottom of a massive caption. To do it properly, your attribution needs to be clear, upfront, and respectful.
Here's how to get it right every single time:
- Credit at the Top: Don't make people hunt for it. Start your caption by clearly crediting the original creator. Something like "📷: @username" or "Love this shot from @username" works perfectly.
- Never Alter the Image: Resist the urge to slap on your favourite filter or crop the photo. The goal is to showcase the creator's vision as they intended it, not to make it your own.
Think of it like this: you're a gallery owner borrowing a piece of art. You wouldn't paint over it, would you? You'd display it as is, with the artist's name proudly featured right beside it.
This level of respect is vital in such a busy online space. As of January 2025, Germany alone has around 33.8 million active Instagram users, with women making up about 52.1% of that audience. Ethical sharing practices help maintain a positive and collaborative environment for everyone. You can always explore more about these user trends to better understand the community you're a part of.
Common Questions About Instagram Reposting
Even with the right tools, a few questions always seem to come up when you start reposting. Getting these sorted is the final piece of the puzzle, helping you share content confidently and professionally.
Is It Actually Legal to Repost Someone's Instagram Post?
This is the big one, and it's crucial to get right. Technically, sharing someone else's content without their explicit permission can wade into the murky waters of copyright infringement.
While using Instagram's built-in "Share to Story" feature is generally fine, downloading their video or photo and re-uploading it to your own feed is a different beast entirely. For any business account, getting the green light from the creator isn't just good manners—it’s a necessary step to protect your brand. Always remember this key takeaway: attribution does not equal permission.
Should I Repost to My Story or My Feed?
The best place for your repost really hinges on what you're trying to achieve with it.
- Go for the Story if: You're after a quick, in-the-moment share. Stories are brilliant for casual shout-outs or time-sensitive content because they vanish after 24 hours, keeping your curated feed clean.
- Post to the Feed if: You've found a gem of a post that you want to feature permanently. This is the spot for high-quality, "evergreen" content like fantastic user-generated photos (UGC) that perfectly echo your brand’s message.
Think of it like this: your Story is for a fleeting chat, while your Feed is for a framed piece of art you want everyone to see for a long time.
What's the Best Way to Ask for Permission to Repost?
Asking for permission is simple, and it goes a long way in building good relationships. The cleanest and most professional approach is to slide into their Direct Messages (DMs).
Here's a template that works well: "Hi there! We absolutely love this photo and think our audience would too. Would you be okay with us featuring it on our feed? We'd of course give you full credit in the caption and tag your account."
This method is direct, respectful, and builds genuine goodwill. If you want to get into the nitty-gritty of sharing content properly, you can learn more about what "repost" truly means in the social media world.
Ready to streamline your content sharing and save hours every week? With Repostly, you can automate posting across all your social platforms, from Instagram to TikTok. Start reposting smarter and faster with Repostly today!
Keep reading

10 Fresh Instagram Story Idea Tactics for 2025
Stuck for content? Discover our top Instagram story idea list, with actionable tips to boost engagement and grow your audience in 2025.

A Practical Social Media Planner for German Markets
Build a results-driven social media planner for Germany. This guide offers actionable strategies for content, scheduling, and analysis in the German market.

Crafting Your Social Media Content Plan
Stop guessing and start strategizing. This guide provides an actionable social media content plan to audit, plan, and execute content that gets results.
Post once. Show up everywhere.
Start your 7-day free trial and publish your next video to every platform in minutes.Pick a plan and publish your next video to every platform in minutes.
Start your free trialSee plansCancel anytime